
Ready in: 40 minutes · Serves: 16 · Technique: Baking · Storage: Airtight container for up to 3 days.
Quick Answer
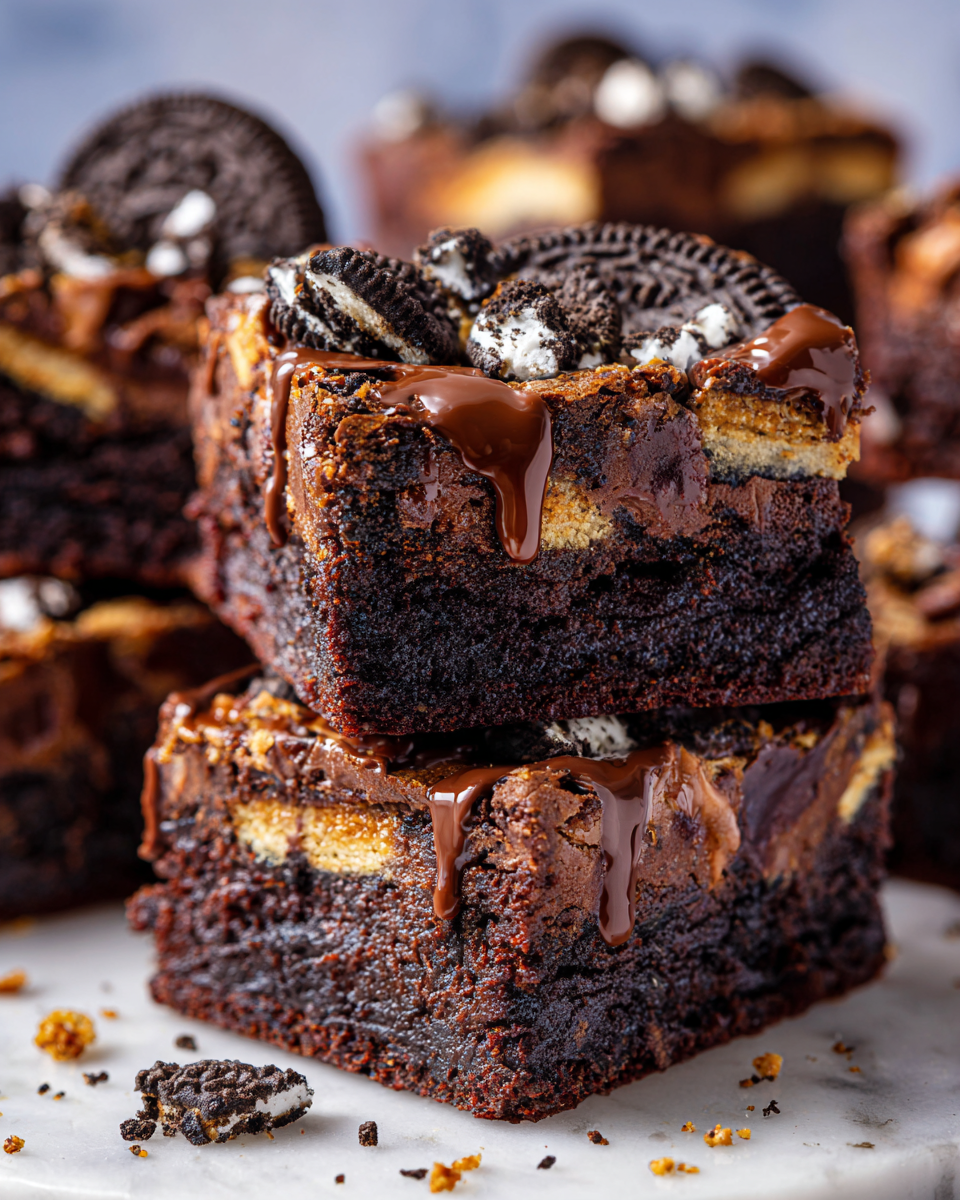
These delectable Oreo brownies combine the rich flavor of chocolate with the classic crunch of Oreos, creating a perfect treat for any gathering.
There’s something magical about the combination of brownies and Oreos; it feels like a cozy embrace, especially as the weather cools down in New York City. With Thanksgiving and Christmas around the corner, these Oreo brownies are perfect for elevating any gathering. Imagine treating your friends and family to a sweet indulgence, one that captures the spirit of the season and spreads warmth through shared joy. I can already see my friends circling the dessert table, eyes lighting up at the sight of these decadent delights.
A Cozy Holiday Treat

Why You’ll Love This Recipe
- Decadent combination of rich brownies and crunchy Oreos for a unique treat.
- Perfect for holiday gatherings, bringing joy and warmth to your celebrations.
- Simple ingredients create a deliciously fudgy texture that everyone will love.
- Easy to make in just a few steps, perfect for bakers of any skill level.
- Leftovers can be stored and enjoyed for days, or even frozen for later indulgence.
Ingredients
Gather the following ingredients to create your Oreo brownies:
Brownie Base
- ½ cup (1 stick) unsalted butter
- 1 cup granulated sugar
- 2 large eggs
- 1 teaspoon vanilla extract
- 1 cup all-purpose flour
- ½ cup unsweetened cocoa powder
- ½ teaspoon baking powder
- ½ teaspoon salt
- 1 ½ cups chopped Oreo cookies
How to Make Oreo Brownies (Step-by-Step)
Creating these delicious Oreo brownies is a straightforward process that everyone can follow!
Step 1: Preheat Your Oven
First, preheat your oven to 350°F (175°C). The warmth that fills your kitchen is the first sign of the deliciousness to come.
Step 2: Melt the Butter
In a medium saucepan over low heat, melt the butter until it becomes a glorious pool of liquid gold.
Step 3: Combine with Sugar
Remove from heat, then add the sugar, whisking until the mixture is glossy and smooth, which should take about 2-3 minutes.
Step 4: Mix in the Eggs
Add the eggs one at a time, mixing well after each addition. The batter will start to feel velvety, enhanced by the addition of vanilla extract.
Step 5: Prepare the Dry Ingredients
In a separate bowl, whisk together the flour, cocoa powder, baking powder, and salt, ensuring an even texture by sifting.
Step 6: Combine Wet and Dry Ingredients
Gradually fold the dry ingredients into the wet mixture, being careful not to over-mix to maintain that fudgy brownie texture.
Step 7: Add the Oreos
Gently fold in the chopped Oreo cookies, allowing their creamy goodness to infuse the batter.
Step 8: Prepare for Baking
Grease a 9×9 inch baking pan and pour in the batter, smoothing out the top patiently.
Step 9: Bake
Bake in your preheated oven for 25-30 minutes. The center should have a slight jiggle without appearing wet when done.
Step 10: Cool and Serve
Let the brownies cool in the pan for 10 minutes before transferring them to a wire rack to cool completely. The rich aroma will be a fantastic reward for your patience.

Common Mistakes to Avoid
- Overmixing the batter: This can make your brownies tough instead of fudgy.
- Not checking for doneness: Use the toothpick method; a few moist crumbs should cling when they’re ready.
- Skipping the cooling time: Cutting into brownies too soon can lead to a messy situation instead of those beautiful, clean slices.
Tips and Tricks for Success
- For an extra special twist, try drizzling melted chocolate on top.
- Serve warm with a scoop of vanilla ice cream for a delightful contrast.
- Be careful not to overbake; check the brownies a few minutes before the suggested time.
- Use a high-quality cocoa powder for a richer chocolate flavor.
Variations
- Swap out some of the all-purpose flour for almond flour for a nutty flavor.
- Add a handful of chocolate chips or nuts for added texture.
- Use golden Oreos for a different flavor profile.
How to Serve
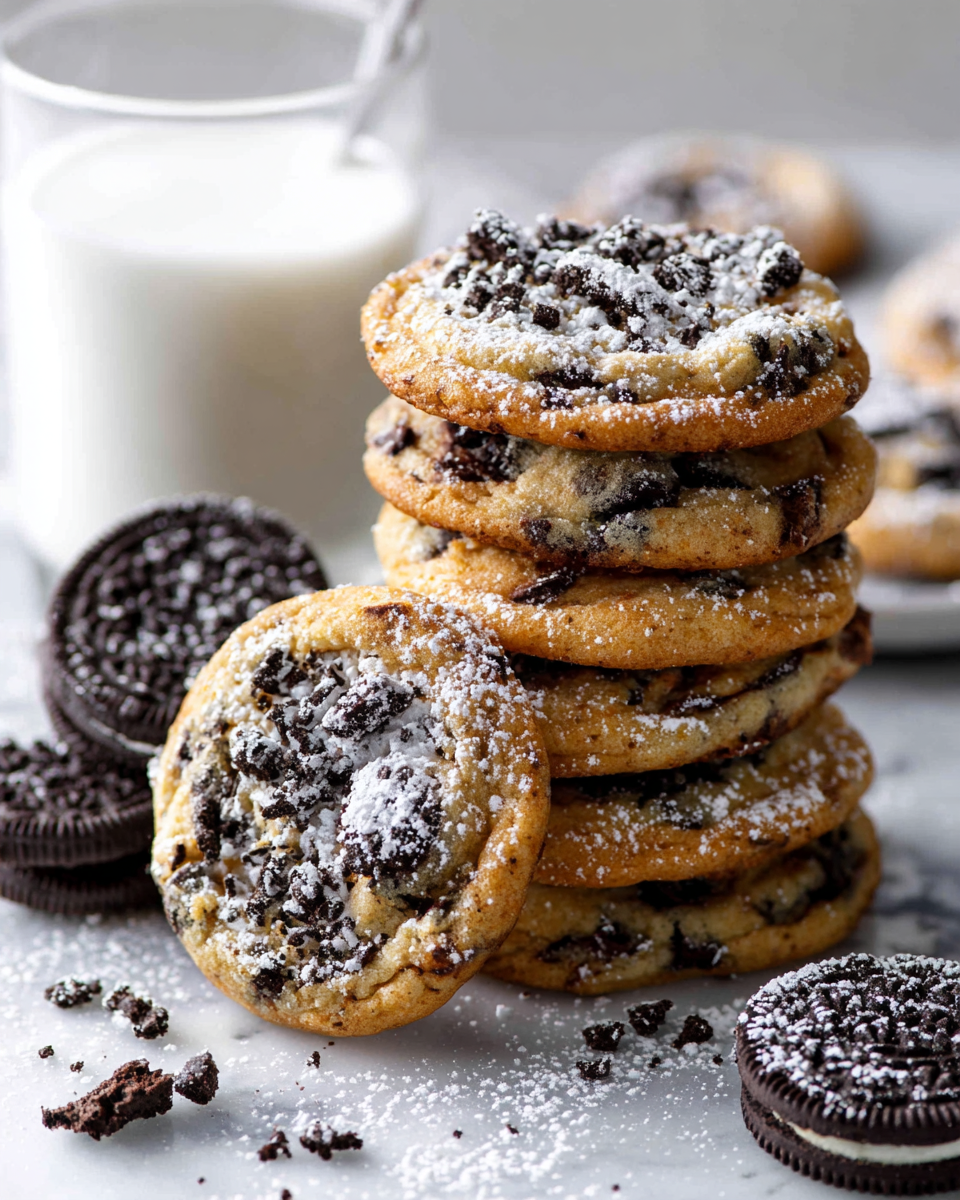
- Plate with a dusting of powdered sugar for a simple presentation.
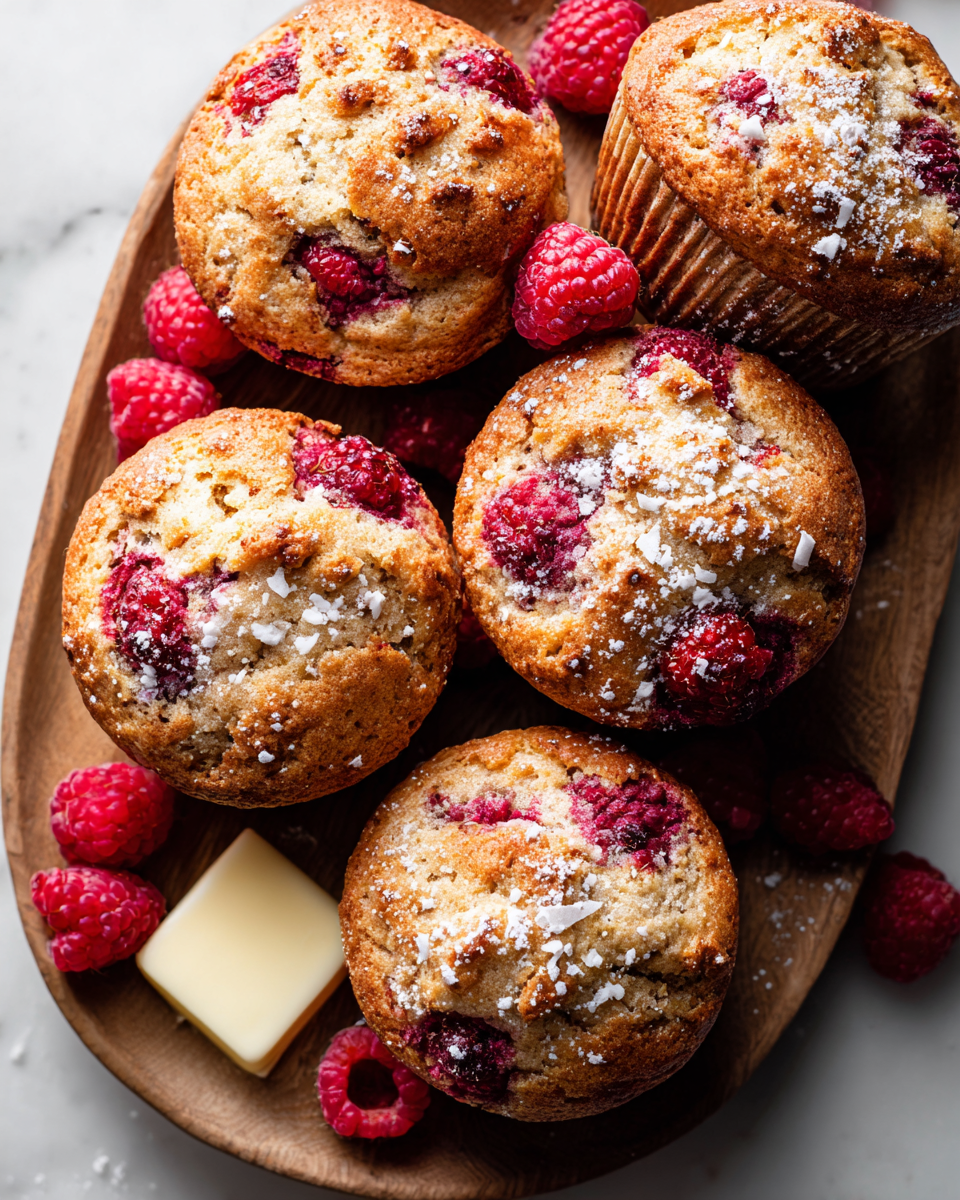
- Pair with fresh berries for a touch of freshness.
- Serve alongside a rich coffee or hot chocolate for a cozy treat.

Make Ahead and Storage
- Make Ahead: Brownie batter can be prepared in advance and refrigerated for up to 24 hours before baking.
- Storage: Store brownies in an airtight container at room temperature for up to 3 days.
- Reheating: To enjoy warm brownies, microwave for 10-15 seconds.
- Freezing: These brownies freeze beautifully. Wrap tightly and freeze for up to 3 months. Thaw overnight in the fridge.
Recipe Notes / What I Learned
This recipe taught me that simple ingredients can create something beautiful, especially when combined with love and attention. Watching friends savor these brownies reminds me of the joy of sharing homemade treats during the holidays.
Yield and Serving Size
Yield: 16 brownies · Serving Size: 1 brownie
Nutrition Snapshot
Estimated Nutrition Per Serving: ~200 calories · 2g protein · 30g carbs · 9g fat

Delicious Oreo Brownies
Ingredients
Equipment
Method
- Preheat your oven to 350°F (175°C).
- In a medium saucepan over low heat, melt the butter.
- Remove from heat and whisk in the sugar until glossy and smooth.
- Add the eggs one at a time, mixing well after each addition, then stir in the vanilla extract.
- In a separate bowl, whisk together the flour, cocoa powder, baking powder, and salt.
- Fold the dry ingredients into the wet mixture carefully.
- Gently fold in the chopped Oreos.
- Grease a 9×9 inch baking pan and pour in the batter.
- Bake for 25-30 minutes, until the center jiggles slightly.
- Let cool in the pan for 10 minutes, then transfer to a wire rack.
Notes
FAQs
Can I use other types of cookies instead of Oreos?
Absolutely! While Oreos give a classic flavor, you can experiment with other cookies like chocolate chip or peanut butter cookies for a unique twist.
Can I make these brownies gluten-free?
Yes, you can substitute all-purpose flour with a gluten-free flour blend. Just make sure the blend you use is suitable for baking to achieve the best texture.
How do I know when the brownies are done baking?
Check for doneness around the 25-minute mark. The center should have a slight jiggle but should not look wet. You can also insert a toothpick; a few moist crumbs should cling to it when they’re ready.